Movie Poster Assignment
Objective:
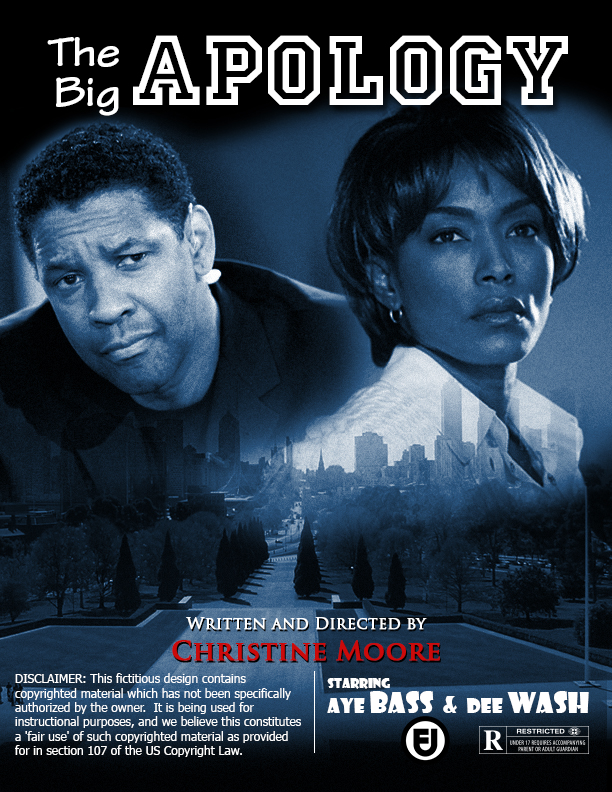
Create a movie poster according to the steps below. You can use any theme you wish, but must include the same degree of complexity. In the end, you will submit both the Photoshop (.PSD) and the .JPG
Checklist:
- Composite at least 3 images
- Include a Blend Mode such as Overlay or another.
- Include an Adjustment Layer.
- Title must be striking in appearance.
- Movie credits must be carefully formatted. Use a variety of formats but be judicious about it and don't go overboard. Keep it C.R.A.P. Use some of the features mentioned in the final step of the instructions.
TIP: Although these steps run more like a tutorial than an assignment, I am not trying to restrict your creativity. For example, I am giving some specifics such as "choose black background; add 2 people, etc." However, if you feel comfortable enough with the software, you can alter some of these steps. You cannot ignore the instructions completely, but I've provided a checklist above that can be used to check your final design.
The basic steps are in writing below. The original video by GRAFX TV is only 5+ minutes long, but it covers a lot of content in a short time. You may do well to check out their video in addition to going through my text version. https://www.youtube.com/watch?v=DXm79e_AOvI
TIP: In these steps you are occasionally asked you to merge layers. If you want to save your file at various points, take a snapshot of history from time to time (bottom menu on History Panel).
Written steps:
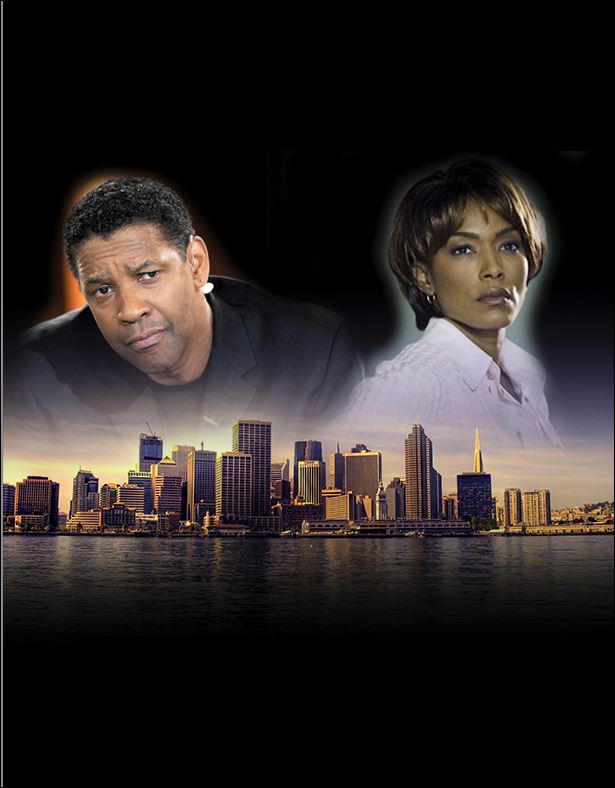
- PREPARATION: Find about 3 images. For instance, I chose a cityscape for my background and two people for my subjects. For the sake of keeping a smooth flow of instructions, please save your images as follows: sceneryBack.jpg, person1.jpg, and person2.jpg.
- New file with these properties:
- Letter size
- 72 PPI resolution
By default, Photoshop’s resolution is 300 Pixels Per Inch. However, I would prefer that you use 72. It’s best for bandwidth on my part; and it’s best for you also because it better matches most images that you obtain from the web, which are 72 PPI. - Black background
- Duplicate the black background layer. Name your duplicated layer BackDup.
(Layer’s Panel, right click, choose Duplicate layer)
You’ll blend it with another layer later. - Use FILE/Place Embedded to add your sceneryBack image. This has to be the top layer. Also, position it about 2 inches from the bottom of the page. (Leaving enough room for the movie credits)
Remember, you must rasterize the layer because when you place an image, it is added as a Smart Object. - Add a Layer Mask to your sceneryBack.

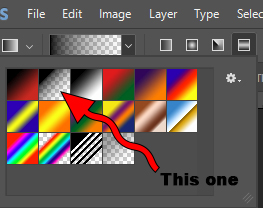
- With black as your foreground color, choose the Gradient tool (Foreground to Transparent). Then drag upward on the picture little to make the sceneryBack layer blend into BackDup background.
- Merge BackDup layer with sceneryBack layer (Select both and choose LAYER/Merge Layers).
The new single of the layer is now sceneryBack. - Add the two people. Then move their layers beneath the sceneryBack layer.
Again, you are going to choose FILE/Place Embedded; and don’t forget to rasterize! - Hide sceneryBack layer for a while.
- Resize and position the two people as desired. It’s a good idea leave some blank space at top of them for your movie title.
- Add Layer mask on Person1 layer.
- Add a Layer mask to Person 2 layer also.
- Choose the Brush tool and make your swatches are the default black and white. Then paint with black, which will REVEAL the layer below.
- Unhide sceneryBack layer.
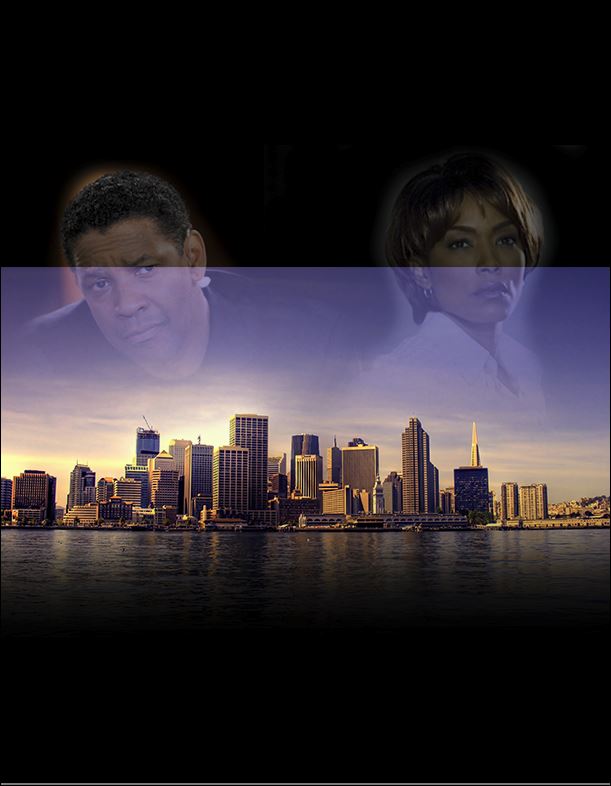
- Add a Layer mask to the sceneryBack layer. Then use Gradient tool to drag all the way down to reveal more of Person1 and Person2 the people beneath it.
Start at the top of the page and drag down as far as needed. You’ ll proably need to click on thumbnail and drag down several different times to eliminate the hardline. Here’s what mine looked like before and after. - If people are covered too much use brush (black to conceal, white to reveal)
- Merge all layers into one layer.
- Duplicate the merged layer.
- FILTER/Noise/Add noise (a little, like 10)
- Add an Adjustment Layer by clicking LAYER/New Adjustment Layer. (I chose black /white. But you might try that or something else such as color balance. ) In the properties panel, I slid the red up a little.
- Add New Layer on top. Fill with dark blue.
- From the Layers panel, add a LAYER Overlay.,
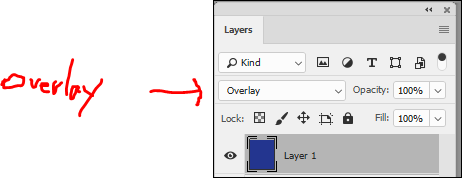
- Change the blue layer to about 50% opacity. You may also want to lower the opacity of the middle panel a little.
- Add your text for the title and for the movie credits. Although the video didn’t go into details, but
THIS PART IS VERY IMPORTANT. - Carefully format the text so that it does the job of being highly visible as well as attractive.
- Some of the features that I expect you to use are: light color text, sans serif font for the credits, leading, tracking, kerning. Also use variations such as bold, italic, small caps.
How to Submit
Upload both the Photoshop (PSD) and the JPG versions to a dropbox called Movie Poster. I want the Photoshop version so that I can see your image layers. The Due date is March 10, 2020.
Once again:
UPLOAD BOTH THE PSD AND JPG VERSIONS OF THE FILE.