Gimp - Selective Colorization


A popular image editing technique is to use grayscale for part of an image and keep the other part of an image in color.
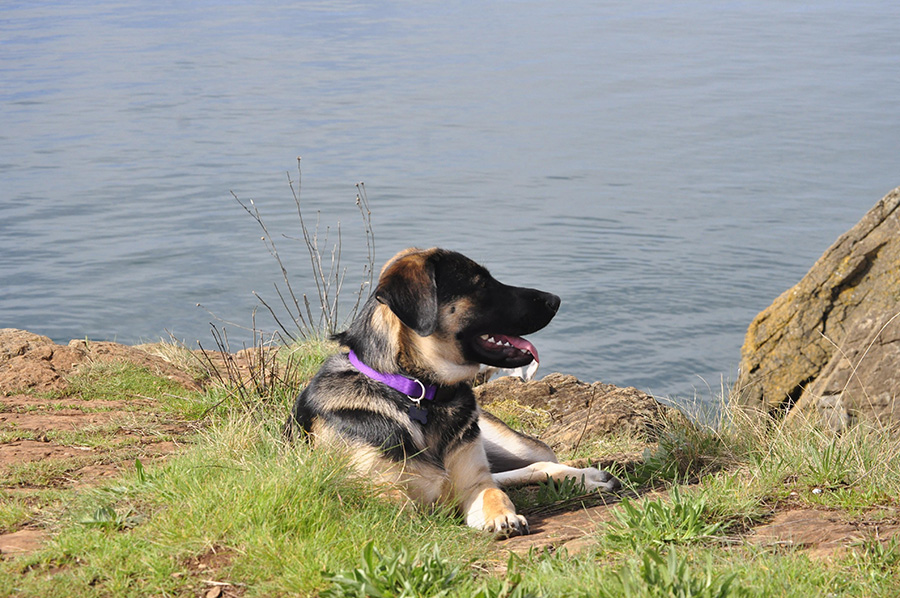
- Download the big puppy here.
Or can you find an image from one of these copyright free sources - Open the file. Then continue by duplicating layer (LAYER/Duplicate Layer).
- Click COLORS/Desaturate/Desaturate to turn the layer into grayscale.
- Add a layer mask by right clicking on the layer in the Layer Panel. Then choose Add Layer Mask. (Or LAYER/Mask/Add Layer Mask). Keep the choice of White (Full Opacity). Now look at your layer panel and see a white mask thumbnail to the right of your layer thumbnail.
- Change your foreground color to black.
- Choose the Paintbrush Tool. In the Options panel, you can change the size and hardness of the brush.
- Paint over the part that you want to “re-color.”
- If you paint over too much of the image, simply switch your foreground to white and paint over that part.
- From the Layers Panel, add a new layer. Choose “Transparent” as the type.
- On the new layer, usse Rectangular Selection to create a box.
(Gimp does not have a Shape tool.) - Fill your rectangle with a color by using the Paint Bucket.
- Reduce the opacity of your rectangle. Opacity is located in the Layers panel
- Type Text on the top layer. (Notice that Text makes its own layer).
- To add drop shadow to your text, click FILTER/Light and Shadow/Drop Shadow.
- Feel free to add or enhance your design in any way you wish.
- For Fall 2018, you will submit the JPG version of this. (FILE/Export).