Add to Expressions Repository
Follow this Tutorial and blend an image into the flag. You can follow it loosely if you wish to add some more creativity or extra skills to it. For instance, you may put your own face on it, or do anything that involves EXPRESSING YOURSELF!
A little disclaimer: I put together this tutorial around 3 years ago before some of those other background isolation came out. It still works just fine, but feel free to use any isolation technique you want.
Photopea Intro Exercise - Blending Images
Instructions:
Create an image composition that consists of at least two images. You are also required to use a Selection tool to make some kind of cut-out. Finally, experiment by using some kind of Filter to enhance the design. Be sure to apply principles of design that you've learned in order to create a visually pleasing design.
You may choose any theme you wish for the composition. If it helps, follow the instructions below either loosely or closely. Otherwise do your own thing as long as you meet the four criteria above shown in red/bold.
Start by downloading and saving one of these flag. I am suggesting these because of the solid background color.
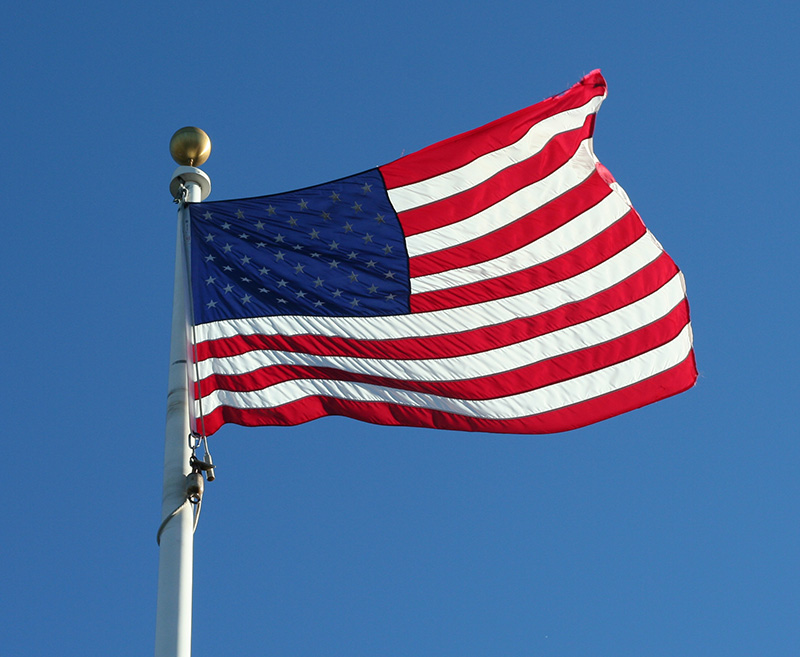
Photo by Christine Moore
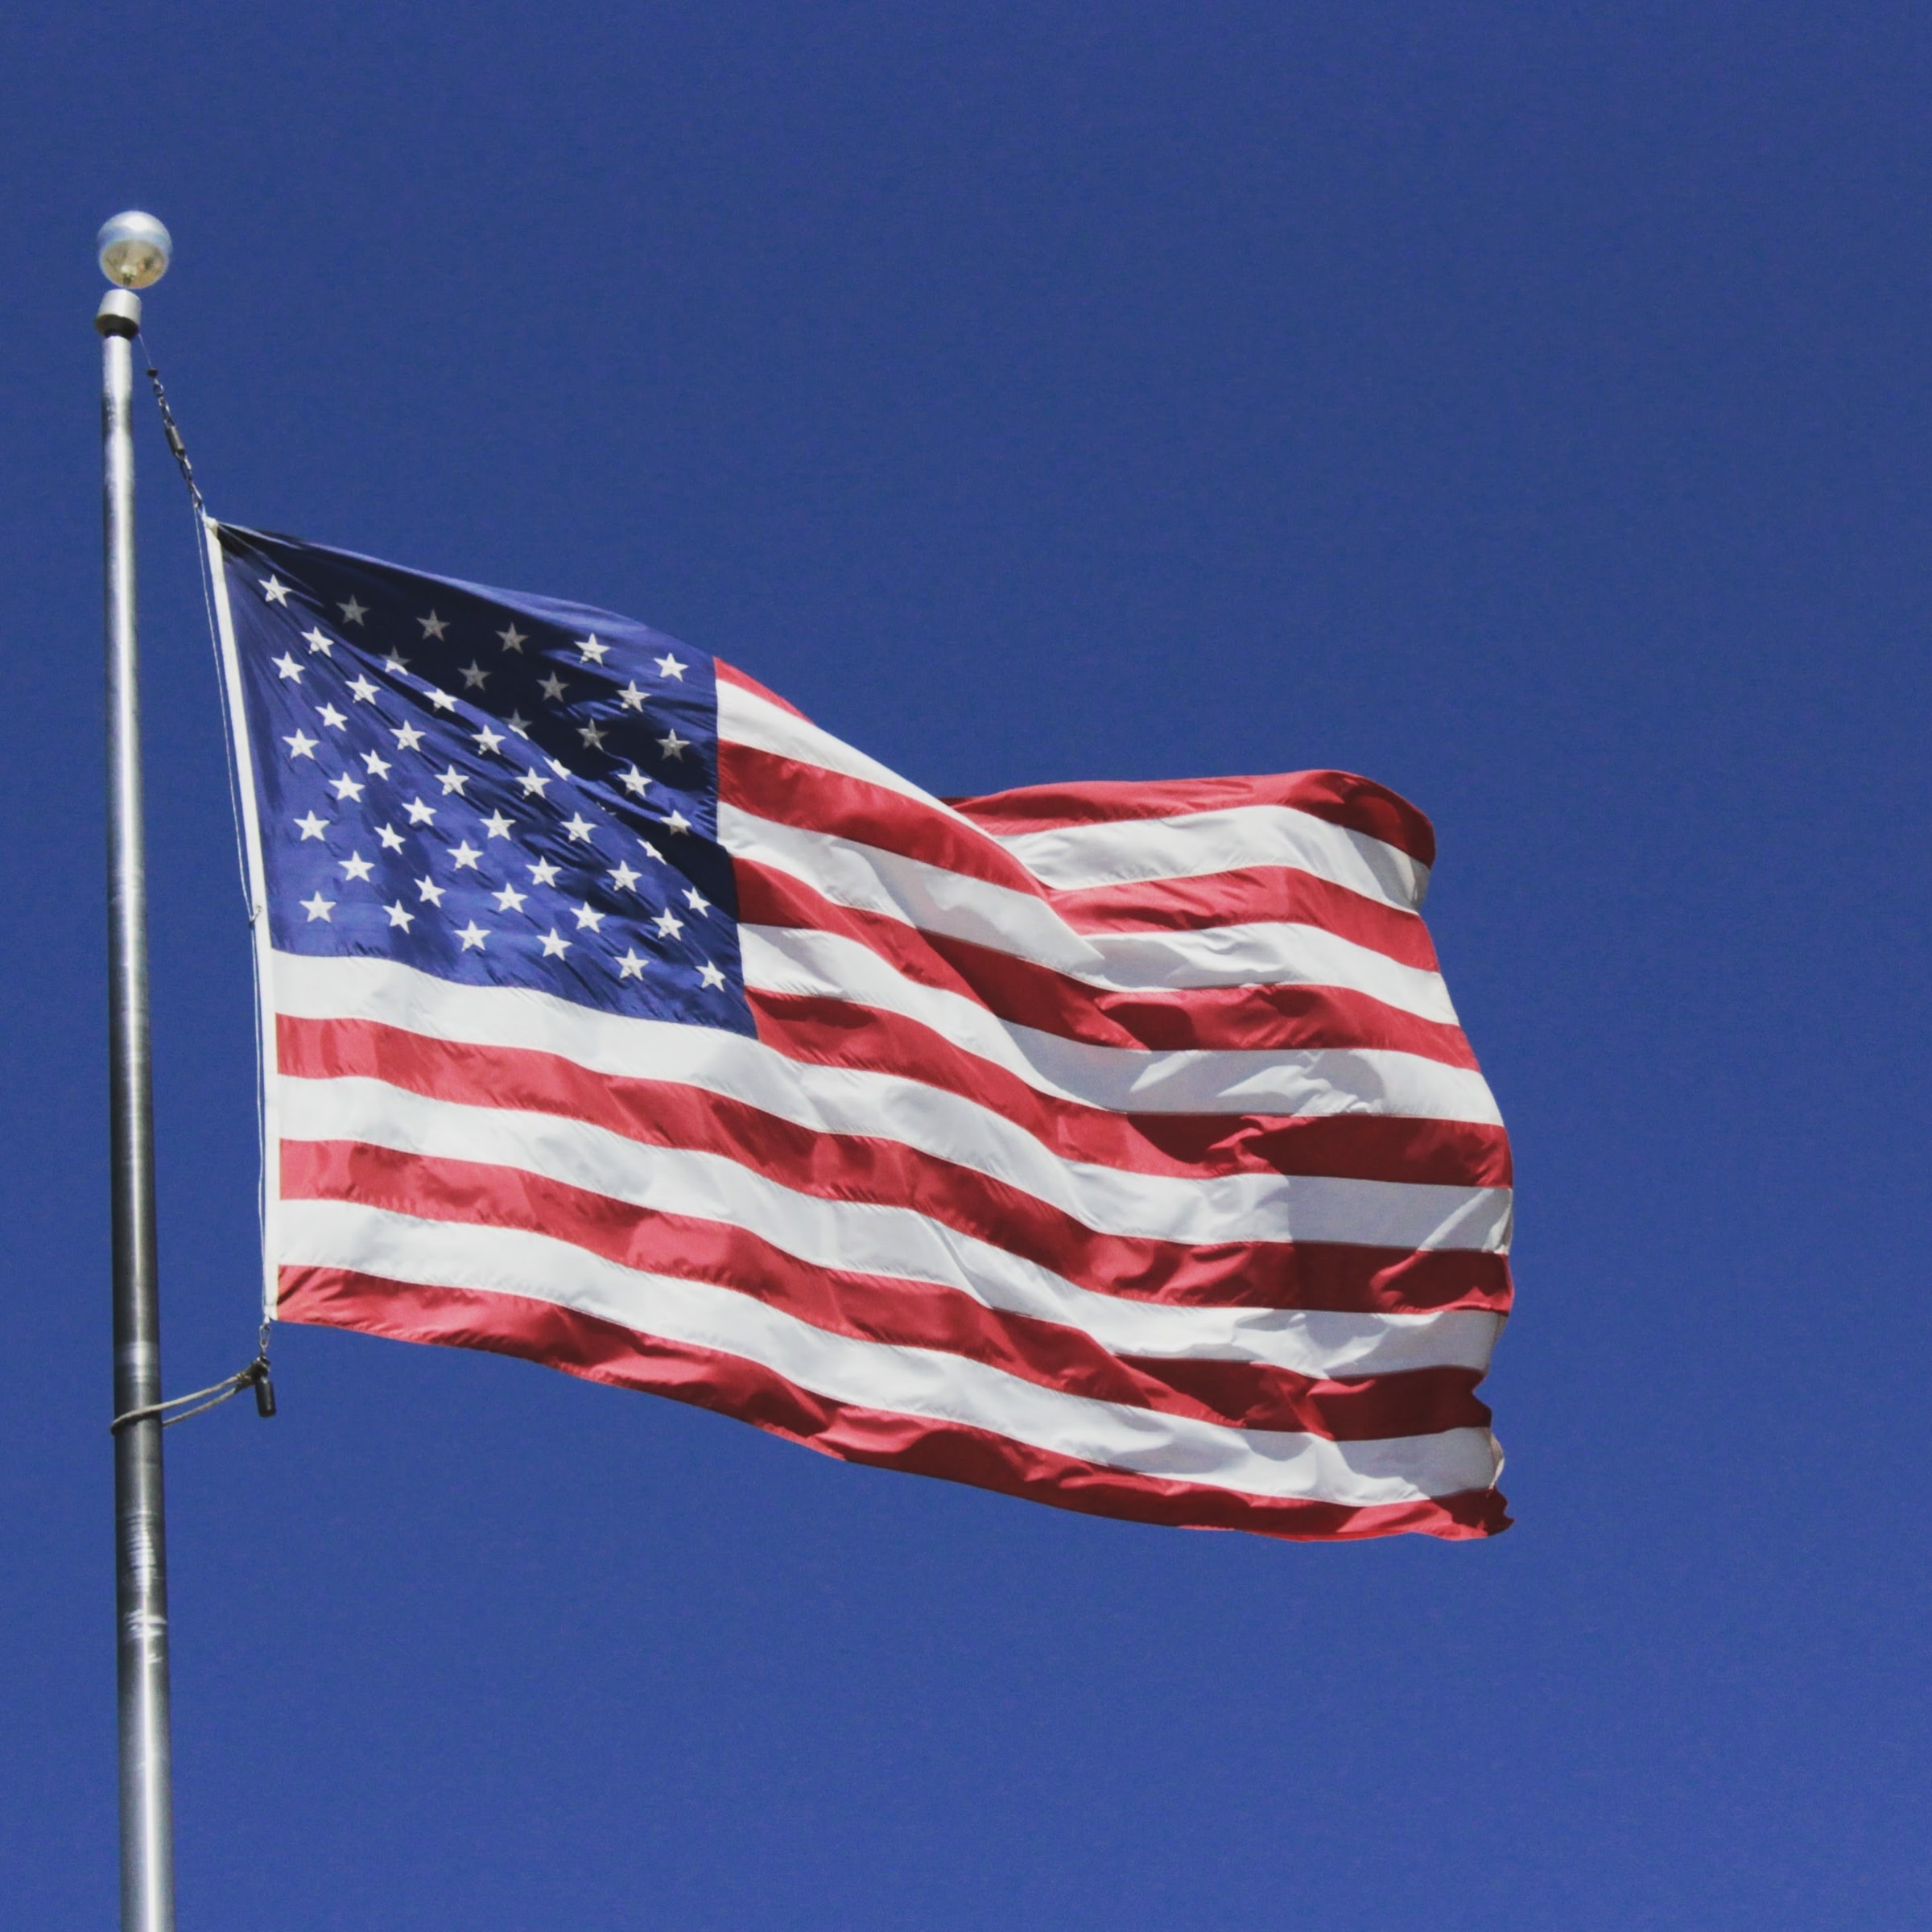
Photo: Unsplash, size 2400 x 2400px
Clouds:
- Go to Photopea.com and click FILE/Open to open the flag.
- Use any Selection tool to select and delete the sky.
Initially I suggested you use the Quick Selection.
However, I found that with the new version of Photopea, the Magic Wand is best.
- Go to the Layer Panel and click on Layer 0. Then create a new layer.
Most likely, it will be on top of your flag layer (Layer 0). - Move the new layer below by dragging it below Layer 0.
- Name the layers "Flag" and "Background".
- For the Background layer, change the foreground swatch to any shade of blue; and background to white.
- Stay on the Background layer and click FILTER/Render/Clouds.
Add another image:
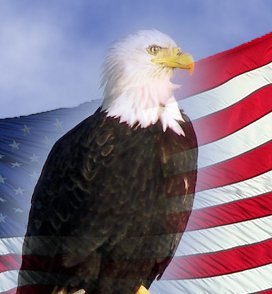
- Find and save a a patriotic image.
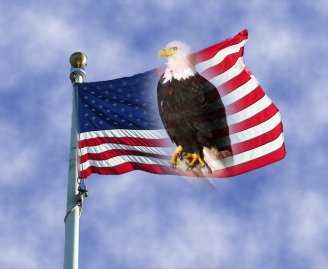
- Open the patriotic image. Then copy/paste it into the Flag picture. (EDIT/Select All. Then Edit Copy)
- If too large, click EDIT/Free Transform to resize the layer.
- Use the Lasso Tool to select part the subject of the photo.
For this design, I wanted a soft, feathered edge. Therefore, I did not trim the eagle closely.
- Click SELECT/Modify/Feather. Type in a number between 20 and 40.
- Click SELECT/Inverse to select the part that you don't want.
- Press the [DELETE] key.
- Reduce the Opacity a little so that they will blend better
(Layers panel) - If necessary, use the Move tool to reposition the eagle.
- It is also probably necessary to resize it.
(EDIT/Free Transform)
Another idea to make it look more compelling is to use the Crop tool to crop in a smaller part of the flag. Also, EDIT/Free transform/Flip Horizontally to rotate