Graphics, Introductory Lesson
Objective: This introductory lessons covers some basic techniques that you can use to create a header or any other image. It has detailed steps and is suitable for an introductory tutorial in https://pixlr.com/e.
Start with a background image of some kind. Find an image from a royalty free website such as Unspash.com.
- In the next steps, you will crop the image; save it; close it; and finally open again.
- Use the Crop tool
 to trim the image to 960px by 450px. Note that once you choose the Crop tool, the Control Panel allows you to type the numbers of your crop as shown below.

- Save the file as myheader, with the JPG format.
- Close the file temporarily. The reason for closing is to make the program forget about the cropped off part.
- Use the Crop tool
- Open the myheader.jpg file again and continue.
- In your next steps, you will include a photo of yourself and crop it to a reasonable size to fit your canvas.
- Although there is a fancier way, the easiest way to get your photo onto your background file is to:
- Open the photo of yourself as a separate file. Change the width to about 400px by clicking IMAGE/Image Size. Use the Marquee Select to drag a selection around your photo. It does not matter whether it's a circle or rectangle.
- Select the opposite of your selection by clicking SELECT/Invert Selection.
- Press Delete on your keyboard to get rid of the unwanted part.
- Now it's time to copy your picture to the your 960x450 canvas.
- Choose SELECT/Select All. Choose EDIT/Copy.
- Go to myheader and paste it.
- Paste in "myheader" file and set it up attractively.
To resize it, choose EDIT/Free Transform, if needed
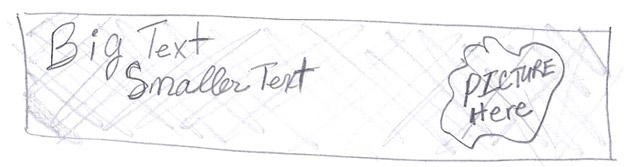
- Add text with the "T" or Text tool.
This part is intuitive, so I will stop with the detailed instructions. Continue to refine your banner as desired.
- When completed, save your file again with the PXD format.
- Then save finally as a JPG format so that it can be used on a website.