Photoshop Lesson 0 - Entry Webpage
 Introductory
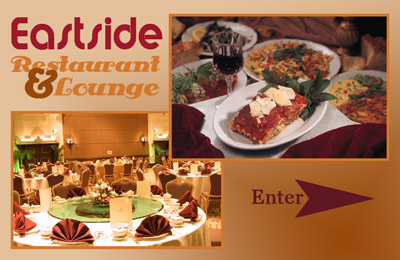
Tutorial: The task is to create an image similar to this. In the end,
your imagery does not have to look like mine. However, in order to get
the full experience, you must have at least 3 text boxes and 2 images.
Introductory
Tutorial: The task is to create an image similar to this. In the end,
your imagery does not have to look like mine. However, in order to get
the full experience, you must have at least 3 text boxes and 2 images.
- Create a new file. Size at about 1000 x 800 pixels. Start with a white background.

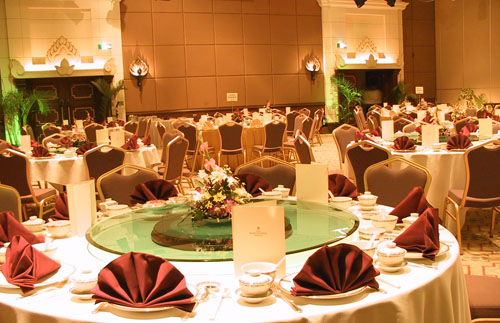
 Download these two pictures; or if you have time, you can find your own
pictures. The easiest way is to right click each and copy and paste into your 800 x 600
Photoshop file.
Download these two pictures; or if you have time, you can find your own
pictures. The easiest way is to right click each and copy and paste into your 800 x 600
Photoshop file. - Look at the Layers Palette and notice that each image is on its own layer.
- Type the text.
- With the Type tool, draw a box and type "Eastside". To complete your typing, either press ENTER on the number keypad, or click the Move tool.
- For greater flexibility, I suggest that you type each of the remaining words in a separate box:
- Restaurant
- &
- Lounge
- With the Type tool, draw a box and type "Eastside". To complete your typing, either press ENTER on the number keypad, or click the Move tool.
- Format the four text objects as desired.
- Change the color of the background.
- From the Layers Palette, click on Background layer .
- From the Swatches Palette, choose a different color.
- From the Tool box, hold down the Gradient button and select the Paint Bucket
- Click anywhere on Background layer to apply the color.
A shortcut is Alt-Backspace, and it behooves you to remember it because you will use it a million times, I promise!
- Add strokes around each image.
- Click on the layer for one of the images.
- Then choose EDIT/Stroke. Make choices within the dialog box. OK
- Repeat step for the other image.
- Use the Move tool to position and overlap your objects to create an interesting design.
- Use the Crop tool to crop off unnecessary space from your file.
- Click IMAGE/Image Size to resize the width to 800px.
- Always save your regular Photoshop file in case you want to revise it.
- Then save it again as "entry_screen.jpg". Be sure to actually choose "JPEG" as a format. Don't just type it in.
- That's it for this introductory tutorial. Later in the course, we will revisit this tutorial and add some more advanced touches, which will include Image Mapping.

Suppose that you were going to use this as an entry screen for a website. The finishing touches include a way to "enter" the website, using an image map. (The actual image map involves HTML and is not a part of the assignment, but please remind me to tell you about it later.)
- Tip: If your want to match a color from the pictures, use the Eyedropper tool. (Choose the tool; then click on the spot in the picture that you want to pick the color from. That now becomes your foreground color/)
- Type "Enter" in a text box.
- Now, create the arrow using the Custom Shapes Tool. It makes its
own layer too.
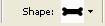
- Choose Custom Shapes Tool.

- From the Control Palette, choose "Fill Pixels" or "Shape Layers"

- From the Control Palette, choose the desired shape.
- Choose Custom Shapes Tool.
- Optional: If you want to get modify the solid color background, try Gradient
or a preset style from the Styles palette.
- Save the file again — both as JPEG and PSD formats.