|
Finishing touches:
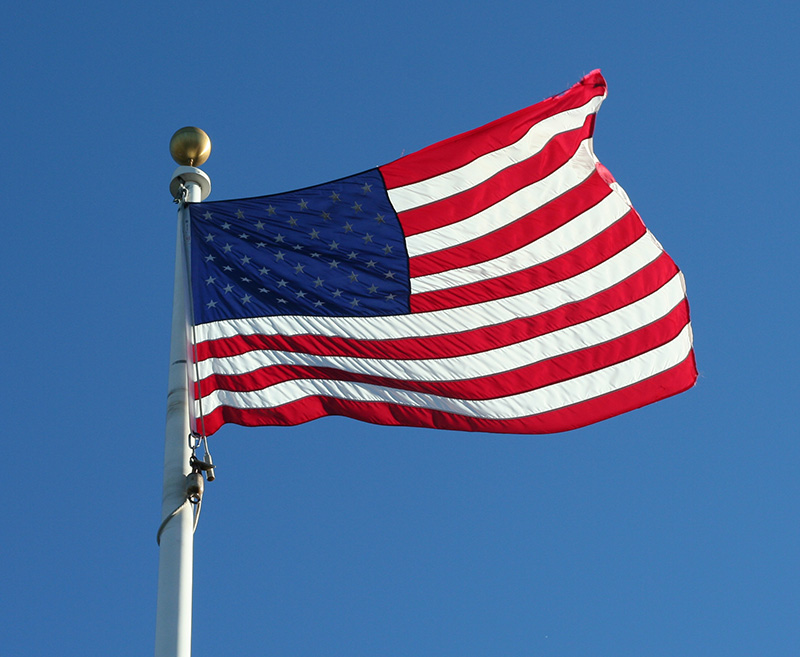
- Find picture of an eagle or Statue of Liberty from the web. Or use your own photo.
Make sure that the subject is not too close to the photo edges.
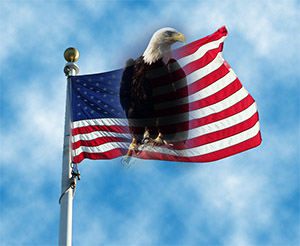
- Copy and paste onto the flag.
- If too large, click EDIT/Free Transform to resize the layer.
- Use the Lasso Tool to select part the subject of the photo.
- Click SELECT/Feather. Type in a number between 20and 40.
- Click SELECT/Inverse to select the part that you don't want.
- Press the
[DELETE] key.
- Reduce the Opacity a little so that they will blend better
(Layers panel)
- If necessary, use the Move tool to reposition the eagle.
- It is also probably necessary to resize it.
(EDIT/Free Transform)
Another idea to make it look more compelling is to use the Crop tool to crop in a smaller part of the flag.
|

|