PhotoShop Lesson: Simple Animation in CS4
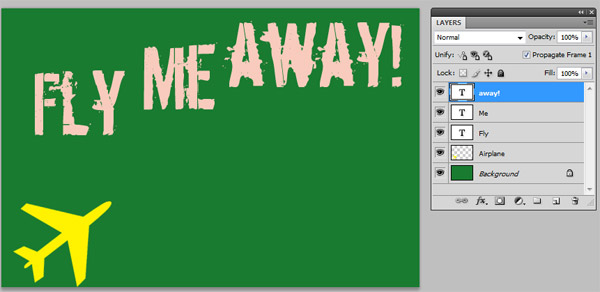
This illustration shows the initial image and all layers in Photoshop. Click on it to see the animation.
- Start a new landscape oriented file, about 600 X 500 px.
- Create a new layer for the airplane.
- Choose the Custom Shape Tool and draw a picture of an airplane.
- Type Fly, Me, and Away on separate layers.
- Display the Animation palette from the Windows menu.
- The next step may not be necessary. But if the pallette is in Timeline Mode, click the bottom right button
on the palette and choose "Convert to Frame Animation"
- Click the options menu of the palette and turn off "New Layers Visible in all Frames."
The reason is that if you choose new layers later, you probably do not want to impact the old frames.
- From the Animation palette, click Duplicated Selected Frame.
- On the new frame that you just duplicated turn off the layers that you DON'T want.
(i.e. In this case, turn off Me and Away)
- Repeat by duplicating again. Turn off Fly and Away.
- Repeat by duplicating again. Turn off Fly and Me.
You will now create a "tween"
- Duplicate to make a 5th frame. This time, keep all layers displayed.
- Duplicate to make a 6th frame. Again, keep all layers displayed.
- On the 6th frame, move the plane to the top right corner.
- On the 5th frame. Click "tween" from the palette options. Choose the number of frames you want in between. Click Ok.
- Play the animation.
- Now change the delay of each frame to about .2 seconds.
- Play it again.
- Save as Web & Devices. Choose GIF format.
- Insert the .gif file in your web page.
(NOTE: You may add it to your website project if desired. It's not a requirement, however.)
