Overview
We will create a layout that looks similar to this Wix site. It is a basic 3-column layout with some extras. We will be creating Home and About pages. You may choose any theme you desire. See simplified versions of what we will create: Home ‖ Content
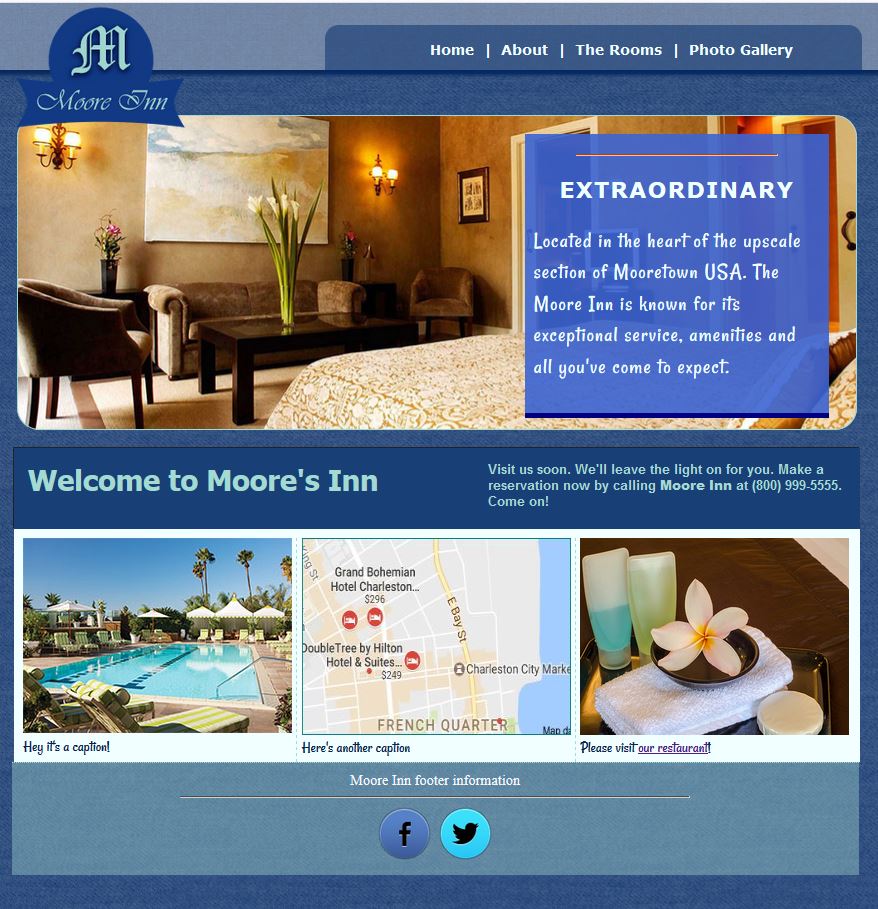
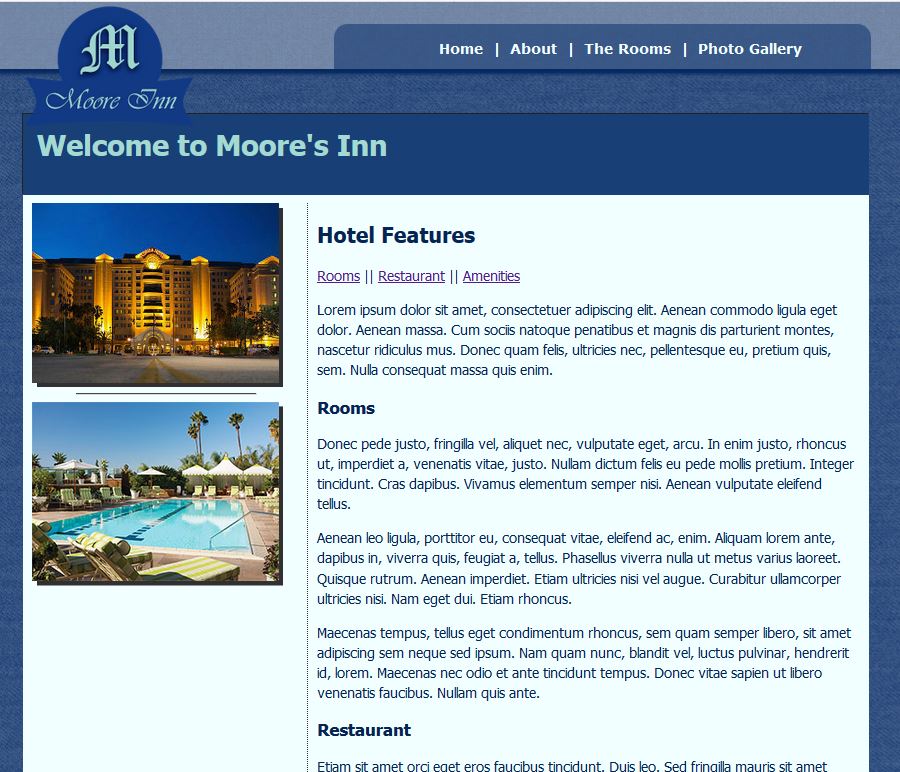
Note: I created this layout a few years ago, so it's heavy on colored background. By contrast, look at Hyatt's website and note how blue is used as an accent, and there is a LOT OF WHITE and neutral grays.
Looka here. Same thing for Marriott...
Get started with HTML
Here is a wireframe showing the structure. Don't worry about the CSS yet. Your HTML will initially be in normal flow.
- Let's get a surefire start in class:
- Inside your assignment folder (with the digits), create a folder called chap6_layout.
- Inside "chap6_layout", create a folder called images.
- Decide on a theme.
- Do these things at home and have them ready by Friday the 23rd.
- Come up with a color scheme and find 4 images. We will size and insert those images on Friday.
- Use a website such as icons8.com to find a few social media icons. Save in your images folder.
- Create a unique logo in Photopea.
- You may create from scratch or start and modify one from vecteezy.com
Starting HTML and CSS coding
We can start this in class on Feb. 23rd.
- FOR THE HTML, you can mostly use borders and placeholder labels to identify the parts to keep you on track.
- The nav will use an unordered list.
- I will guide you through creating the remaining HTML. If we get to the hero image, we will use https://picsum.photos to obtain temporary placeholder images.
I will also guide you through creating these CSS declarations:
- body
- #wrapper
- #topArea
- header
- The hero image
Let's scan this informative easy-to-read article about hero images. - If time, we'll end the class with managing images.
- Resize logo approximately 200px. If necessary, crop so that there is no empty space around edges.
- Resize and crop 2 of your images to 300 width.
You can decide on a height for your two images; but it must be uniform. - Crop the hero picture to 950px by approximately 350px
- Resize social media icons around between 20 - 50px. Your choice.
... Continue Monday
- We will start by completing the #topArea id.
- I will guide you through the remaining HTML.
- There are some additional material and styles as well.
Summary of material not in the chapter
Google Fonts
- Go to www.fonts.google.com
- Select the category you wish, or search for a specific font
- Click the + sign to select the google font of your choice(e.g. Lato):
- Copy the link of the selected style from the window that appear on the right side of the screen. Paste in the head area of your webpage.
- In your CSS, apply the font-family rule to selector(s) of your choice.
Link to an image
To make a hyperlinked image, use the <img> element as well as the <a> element with the href attribute. It is the same basic syntax as all links. Here is an example.
<a href="http://www.facebook.com"><img src="iconFB.png" alt="button"></a>
Figure Element
MDN website has a perfect and picturesque description of the figure and figcaption elements. Let's take a look. AND, one important thing to remember is that figure has a default 40px left & right margin, with top& bottom of 1em.
Interactive Google Map
- Open maps.google.com and type the location you wish to embed.
- In the top left, click Menu.
- Click Share or embed map.
- Click the Embed map tab.
- To the left of the text box, pick the size you want by clicking the Down arrow. We will use Small.
- Copy the text in the box and pasted into your HTML code. We will paste it in one of the <figure> elements.
Modern borders
We'll talk about this. Enjoy them, but don't treat them like magic's happening!
css-box-shadow-examples
Refine
We will spend a little time on March 1 refining and polishing the design. For instance, don't forget to remove the backgrounds and border that were created for troubleshooting and marking spots.
Submit:
Submit by linking to your assignment page with "Chapter 6 Layout." Due by March 1st at 9pm.