Resize and Resample
Resizing images is a common Photoshop task. When resizing up or down, you have a choice of resampling or not resampling the image. You should already know how the principle of effective resolution can make low-resolution images into high-resolution images at a smaller physical size. Remember that raster images are resolution dependent, meaning that they contain a fixed number of pixels. As a result, they can lose detail and appear jagged if they are scaled too high.
A good rule of thumb is that raster images shouldn’t be enlarged any more than about 10% because of the fact that the pixels are fixed and are just being reordered into a bigger physical space. If you do have to resize and resample an image, the Resample menu in the Image Size dialog box, coupled with the dialog box’s preview window, allow far better results when artificially upsizing a digital image. Also, take a look at this video that explains it crisply.
Video:
https://helpx.adobe.com/photoshop/atv/cs6-tutorials/understanding-resize-vs-resample.html
Sharpen
Sharpening enhances the definition of edges in an image. Whether your images come from a digital camera or a scanner, most images can benefit from sharpening.
Video:
Link to video. The book provides a wonderful example of enlarging an image and losing some detail as a result. However, the Unsharp Mask is also useful when you have a blurred image. You can even select a part of an image and apply the filter. As a novice photographer, I do have a DSLR camera. However, I take lots of pictures that are just bad – blurred, over exposed, harsh shadows, etc. In this video is a picture of my nephew’s Honda Civic, and I will sharpen it.
Optional video
https://helpx.adobe.com/photoshop-elements/using/sharpening.html
Canvas Size
The canvas size in Photoshop represents the overall image area, like the canvas of an artist. Changing the canvas size does not affect size of layer or layers of the image. In this tutorial, I will use my nephew’s beloved Honda Civic to add features to make it pop.
Video:
Vector Tools
Although Photoshop is a raster based program, it has a variety of vector based tools that allow you to draw special shapes that are manipulated in the same manner as vectors. When working with these, you have the same options in the contextual menu.
The tools are: Pen tool, Free Form Pen tool, Rectangle and Ellipse, Polygon, Line, and Custom Shape.
When you select the tool, you can choose Shape, Path or Pixels.
• In Shape mode, the Paths panel shows the vector path as long as the shape layer is selected.
• In Path mode, the resulting vector path appears only in the Paths panel.
See page 276 for more about the Paths panel.
• In Pixels mode, the filled pixels are added to the active layer; no vector shape is created.
Because vector graphics are resolution-independent, they can be enlarged without losing quality.
Freeform Pen Tool and Vector mask
This will be a multipart video where you’ll place a path around a part of an image to delete the background. Then you’ll edit your selection. Then use vector mask to conceal a part of another image, i.e. clipping mask.
Videos:
Vector Shape Layer
This tutorial will take care of multiple simple features. For the most part, we’ll use two vector shapes to create a compound shape. Then we’ll add texture to it using a preexisting style.
Video:
Raster Shape Layer
This video will demonstrate raster-oriented selections. As in vector shapes, Photoshop offers a number of tools for selecting raster images. These tools have most of the same options in the contextual menu. The tools include the Marquee, Quick Select, and Lasso tools. In this demonstration, you'll use the Polygonal selection tools to select a shape and subtract parts out of it.
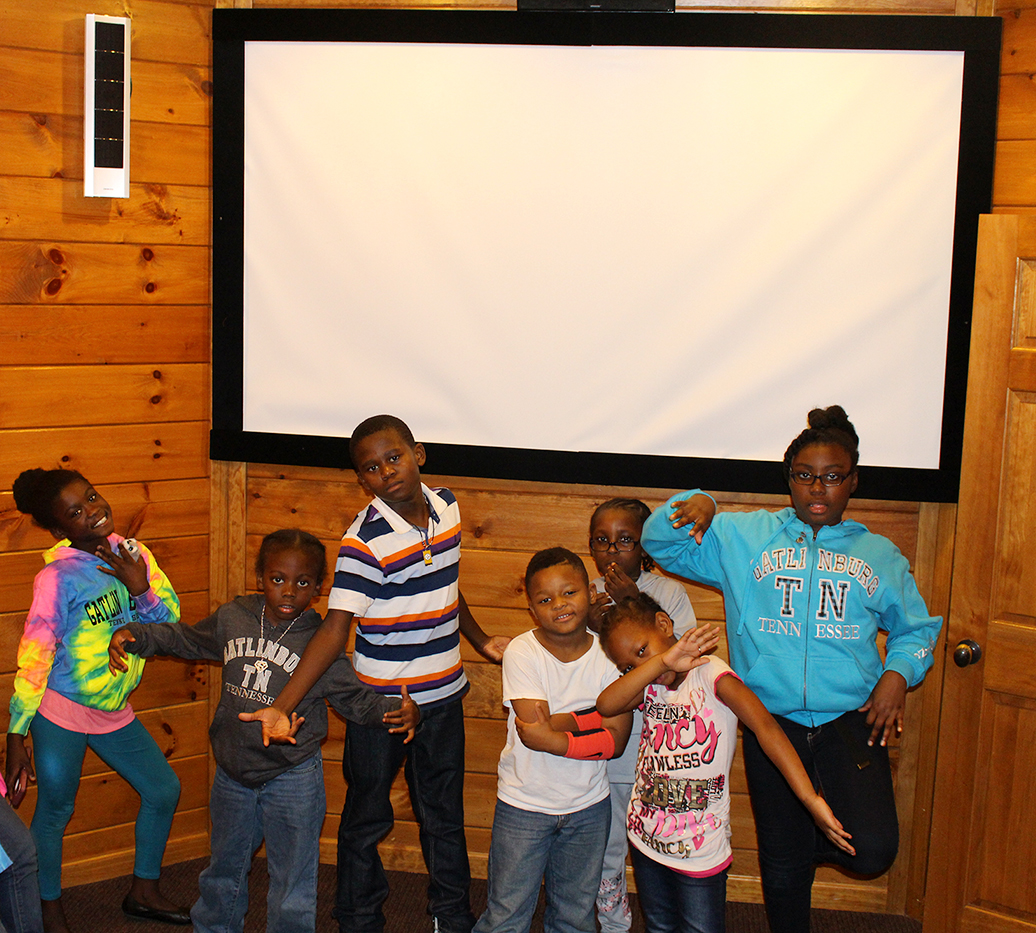
I am using a picture of my lovely nieces and nephews in this video.
Video:
Applying Styles & Filters
I think we've covered Styles enough. However, PLEASE do not hesitate to email me if you'd like more explanations or demos on this features.
Filter Gallery
Filters are easy and fun to apply. Here are two sources of information in case you need it.
Text/Article:
https://helpx.adobe.com/photoshop/using/filter-basics.html
Video:
https://helpx.adobe.com/photoshop/how-to/applying-filters-basics.html
Liquify
Many of the tools in Photoshop are functional, but just as many are purely artistic. The Liquify filter falls squarely into the second category.
There is typically no “correct” answer when you use this filter. In the case of this project, your ocean might not look anything like our example. If you are unhappy with your results, you can:
• Press Command/Control-Z to undo the last brush stroke.
• Use the Reconstruct tool to restore the original layer pixels.
• Click Cancel to leave the layer alone.
The Liquify filter dialog box is a stand-alone interface. By default, only the active layer appears in the preview window. To see the result of your actions — including the interaction with other layers — activate the Show Backdrop option at the bottom of the dialog box. You can then determine which layer is visible, and how it interacts with the liquified layer in the preview area.