Photoshop Lesson: Create a Clipping Mask
This tutorial is quite quick and rather simple. The objective is to use the Clipping Mask feature to make the grapes appear as if they are inside of the vase.
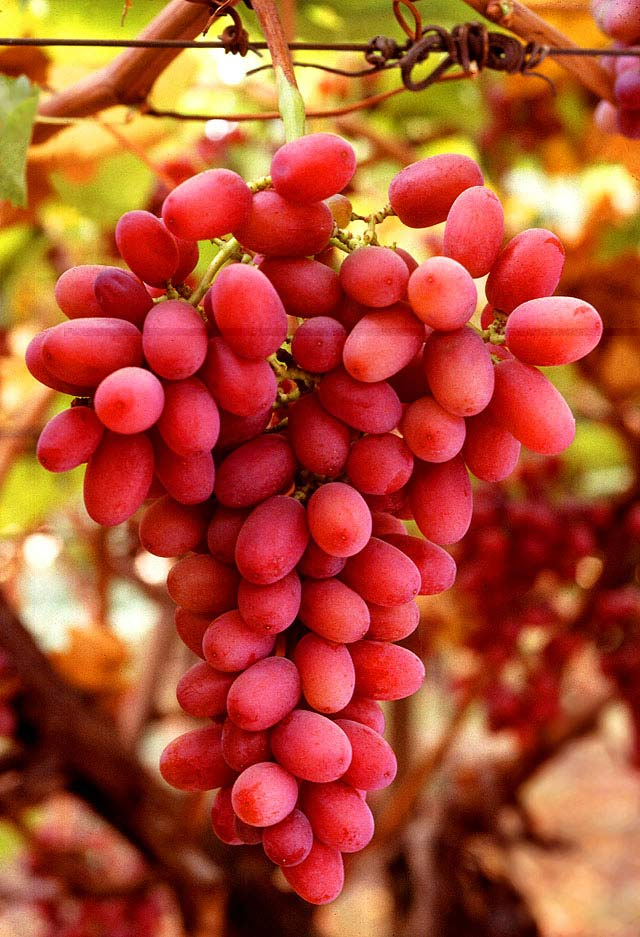
Use these 2 images, or search for your own:
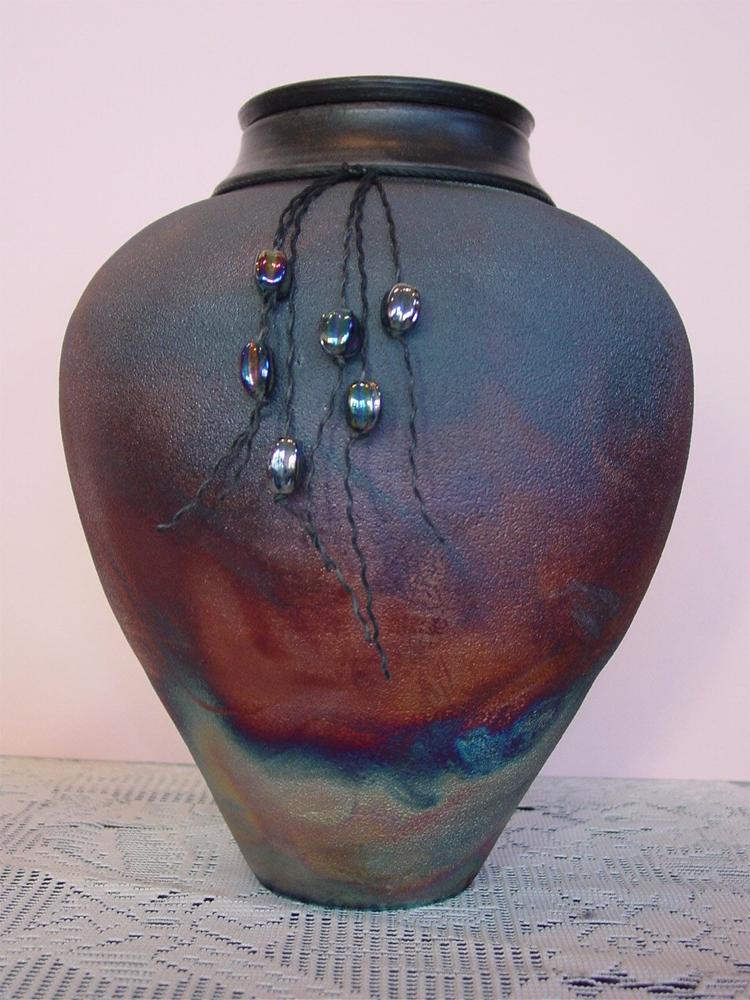
 Click for full size image
- Start a new file. 750 W and 1000 H.
- Fill background with black.
- Paste the vase file.
- Use the Magnetic Lasso to get rid of the background of the vase.
* With the Magnetic Lasso, hover around the edge of the vase to select it
(maybe good idea to feather by 1 to soften edge)
* Choose SELECT/Inverse
* Press DELETE
(alternatively, to make nondestructively, you could choose LAYER/Layer Mask>Hide Selection) - Paste the grapes file. It will be the top layer.
- To clip the grapes inside the vase, right click on Grape layer, then choose Create Clipping Mask.
- To make the images blend together better, try one of these techniques on the Grapes layer:
- Lower the opacity of the grapes layer to less than 50.
OR - In the Layers palette, change the blend mode to something like: multiply, or soft light, or overlay
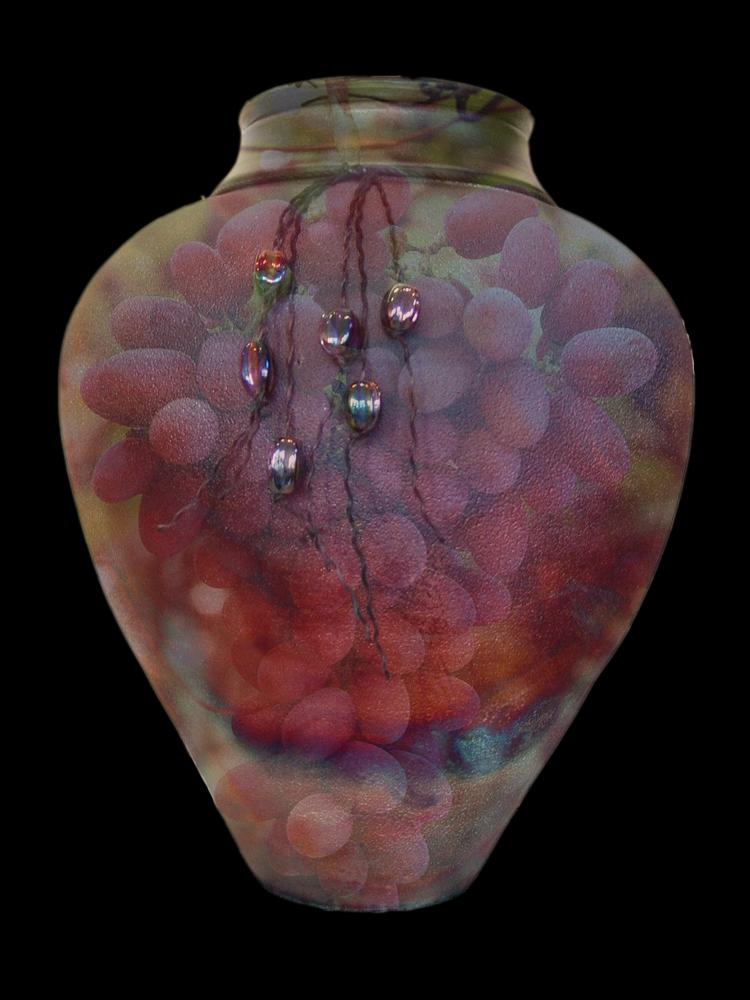
This will be the result with opacity of 40. Click for full size image.
Keep in mind that there are many opportunities to blend items using clipping masks!