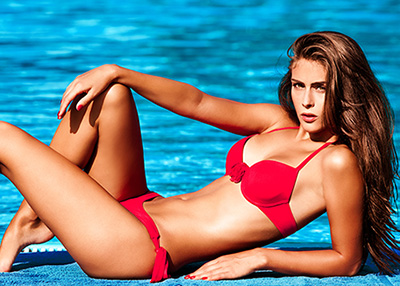
Selective Coloring in PHOTOPEA
Objective: This quick tutorial shows you how to spotlight certain parts of an image. This useful technique is often used to apply grayscale an image while leaving selected parts colored.
Instructions:
 With your file opened, press Ctrl-J to duplicate the layer.
- Choose IMAGE/Adjustments, Desaturate.
- From Layers palette, add a Layer Mask.
- Make sure that your foreground color is white and background is black. (Remember--
white reveals; black conceals.) - With the Eraser tool, wipe across the areas to reveal the desired color.
TIP: Change the brush options as needed in order to get around the edges. That is, change the brush's size and hardness.
If you paint over too much, swap the foreground & background colors. Then wipe again. - When done, duplicate the layer masked layer again. You'll use the new layer to create a smoother looking background.
The next two steps create a softer look to the photo. 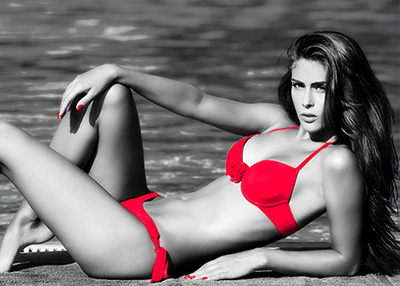 On the new layer, be sure the image thumbnail is selected. Then choose FILTER/Blur, Gausian. Set at about 3.
(Don't worry that it looks blurry now.)- From Layers palette, choose Blending, Overlay or Soft Light.
If you don't like the result of steps 7 & 8, feel free to Undo them.
Submit: Due Feb. 20th by 9PM.
Place both the PSD and JPG or PNG versions in "Selective Coloring" dropbox.